Plan and set out
Agree levels, falls, drainage and the laying pattern before digging starts.
 Start a project
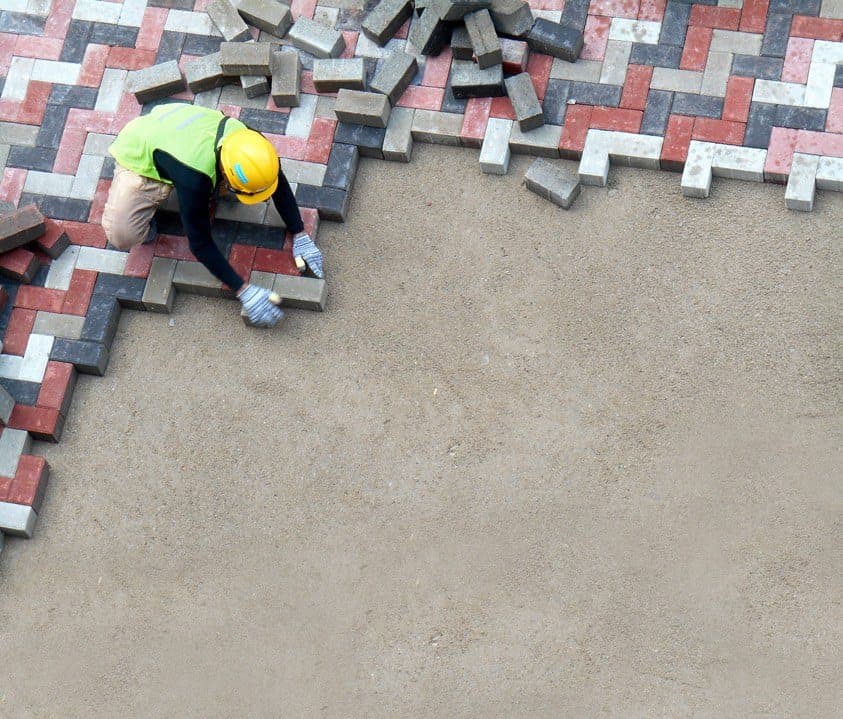
How interlock paving is built to last: the ground and base beneath it, the laying, and simple care afterwards.
Installation
Use 60 mm pavers for pedestrian areas and driveways, and at least 80 mm for streets and industrial paving. Most failures start below the pavers, so the ground and the base matter most.
Agree levels, falls, drainage and the laying pattern before digging starts.
Excavate and compact the soil. Weak or wet ground may need stabilising; a geotextile can separate soil from base.
Spread and compact the aggregate base in layers to the levels on the drawings, within 10 mm under a 3 m straightedge.
Set edge restraints such as curbstones on the finished base, not on the bedding sand, so the paving cannot spread.
Spread and screed bedding sand to about 25 mm, never more than 40 mm, and only as far as can be paved that day.
Lay hand-tight in the chosen pattern with 2–5 mm joints and straight bond lines. Cut edge pieces with a masonry saw or splitter.
Vibrate the pavers into the sand with a plate compactor and replace any that crack.
Sweep dry jointing sand in while compacting, four to six passes, until the joints are full. Finish broom-clean.
Tolerances
| Paver thickness, pedestrian areas and driveways | 60 mm |
|---|---|
| Paver thickness, streets and industrial areas | At least 80 mm |
| Subgrade and base, pedestrian areas and driveways | 98% standard Proctor density (ASTM D 698) |
| Subgrade and base, heavy traffic | 98% modified Proctor density (ASTM D 1557) |
| Base surface before bedding sand | ± 10 mm under a 3 m straightedge |
| Bedding sand | 25 mm nominal, 40 mm maximum |
| Joint width | 2–5 mm, no more than 5% over 6 mm |
| Bond lines | ± 15 mm over 15 m |
| Plate compactor | At least 18 kN at 75–100 Hz |
| Cut pieces under vehicles | At least one third of a whole paver |
| Finished surface | ± 10 mm under a 3 m straightedge |
| Height above drains and channels | 3–6 mm |
| Lippage between pavers | No more than 3 mm |
Keep machinery off pavers until they are compacted and jointed, and leave the laying face compacted, or covered, at the end of each day.
Whoever builds the base should confirm in writing that the site is ready before bedding sand goes down:
Extra bedding sand cannot correct a base that is out of level.
Care
Traffic dust settles into the joints and helps hold the sand. Where wind or runoff washes some out, top it up with dry sand; stabilised sand or a sealer keeps it in place.
Pigment is mixed through the concrete and stays stable. Over the years, wear and dirt shift the surface colour; cleaning and sealing slow the change.
Settlement usually comes from a poorly compacted base, water, or too much bedding sand. Lift the pavers, rebuild the base and relay the same pavers, with no patch. The same goes for reaching services below.
Weeds grow from seeds blown into the joints, not from below. Remove them by hand or with a biodegradable weedkiller; a sealer also discourages seeds and ants.
Oil does not damage pavers but it stains them. Wipe it up quickly, then apply detergent, scrub and rinse with hot water, or use a paver oil-stain cleaner. A stained paver can simply be replaced.
A white haze from the lime in cement can appear in the first months. It is harmless and stops once the lime is spent, which can take several months; a cleaner made for concrete pavers removes it.
The area, the use and the pattern you have in mind.